My husband and i are both geeks
he loves Warcraft and other video games
I love anime and manga and video games
so i love when i can mix my geekiness with my craftiness
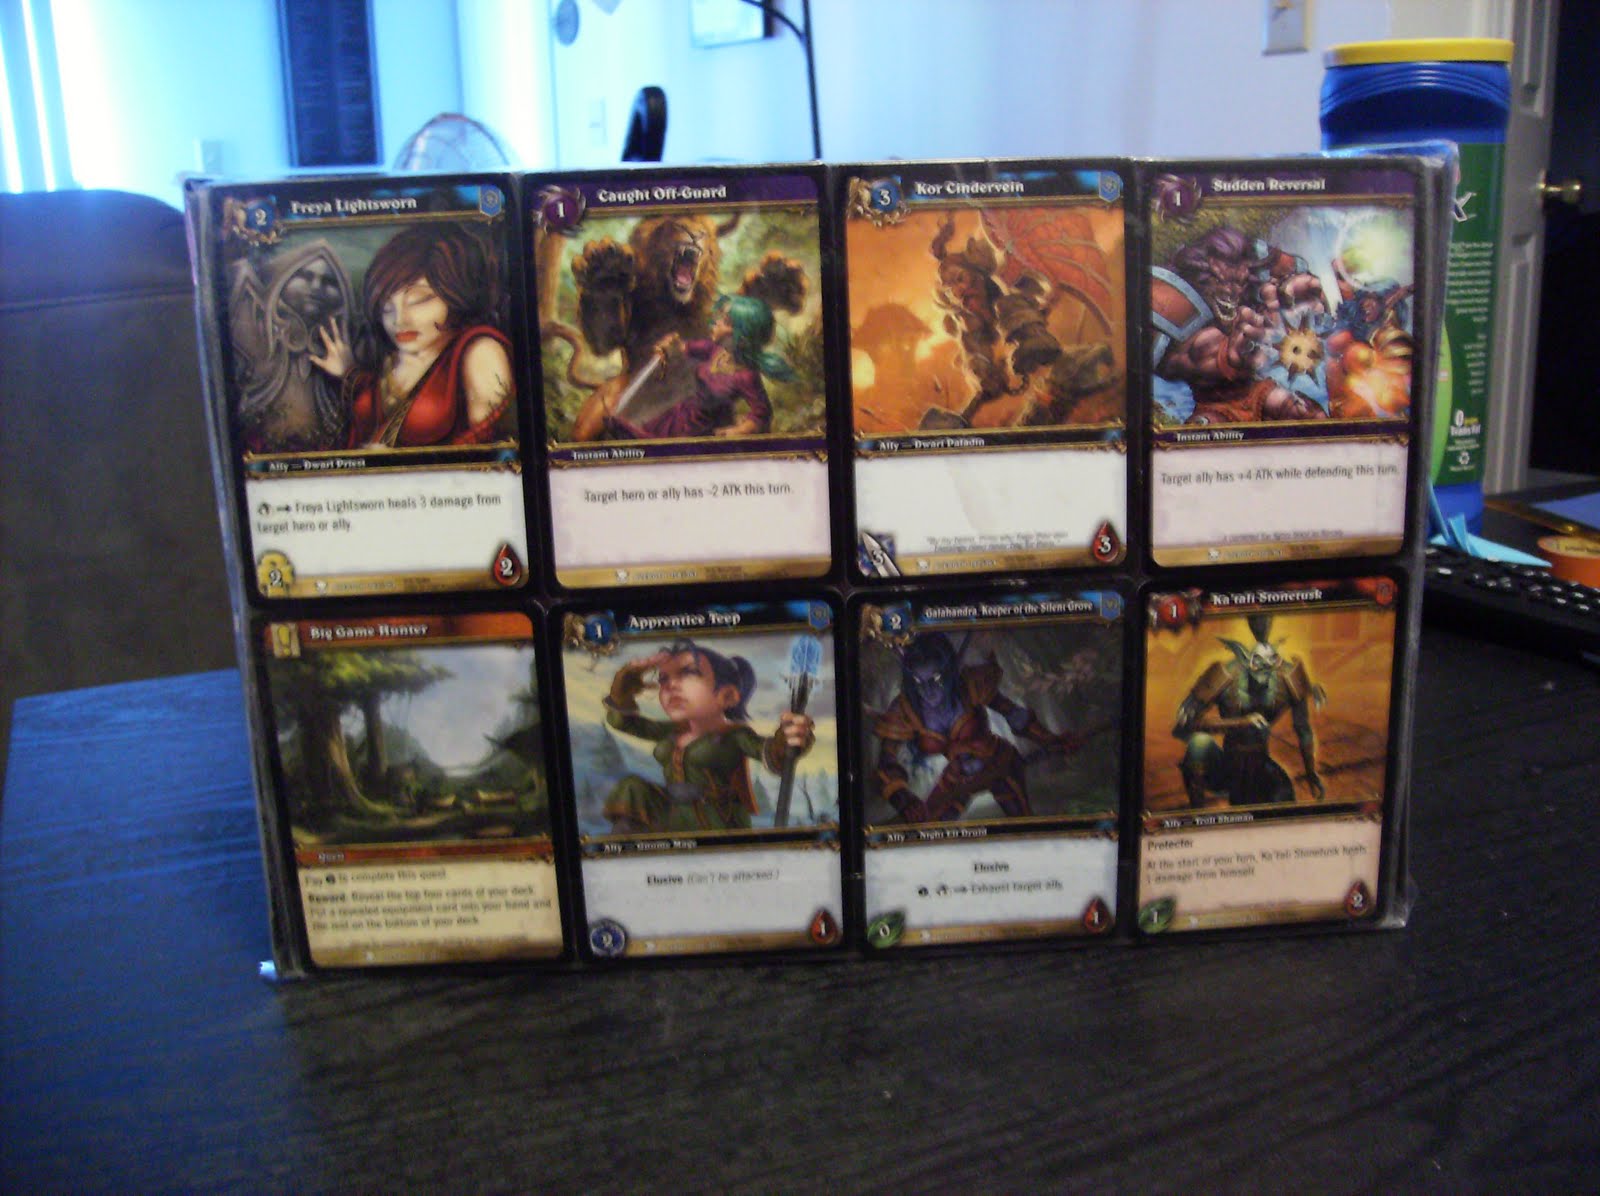
Ive recently found world of warcraft trading cards at out local dollar store

iv started collecting them for my husband
he now has a huge stack

i keep all the extras for my self

i decided what i would do with them..

Supplies


2 rolls of sticky vinyl
( found at the dollar store)

cards of your choice ( you can do this with trading cards or playing cards)
Start by figuring out how many cards you need and what size and type of bag your going to make.
I decided to make a messenger bag
i needed 36 cards all together for mine
4 for each small side (8)
6 for the bottom
8 for front large side
20 for back side/ flap

i laid the cards out for each piece in the order and design i liked
next i cut out 2 pieces ( front and back) of sticky vinyl to about the size of the whole piece.
i left a little bit extra on the sides

i suggest starting in the smaller side of your vinyl
(this will make it easier when your adding the top layer)
peel a little of the paper backing off...

and start adding your cards


after you added all of the cards to your piece
peel a little bit of the paper of your top layer and line it up with the lover layer
(sticky sides together)

I used a ruler to seal the layers and keep it smooth
if bubbles appear try to smooth them out by using the ruler and pushing them to a open side
or you can take a small needle and pop them.

as you move down the vinyl slowly slide the paper backing off


when your done it should look something like this
this is my bottom piece

do this for all of the sides
if making a tote you should have 2 small side and one bottom and two same size larger sides

my two sides and bottom

my large side
since i made a messenger bag i needed on larger side to be even larger

if your going to make a messenger bag place the cards for the back one way and the rest for the flap the other way. you want to be sure when the flap is close you see the cards upright

here is the inside ( just leaned up together to basic shape)

I started to connect the pieces by placing them right sides together

and sewing on the edges

i then turned it right side up


this would have worked it my sewing machine didn't keep messing up. i think it may have been the stickiness of the vinyl...
anyways i decided to just use strips of the vinyl to stick it together
i cut a small strip

laid out my pieces

and started by sealing the outside edges
then i moved to sealing the inside

i used duct tape on the bottom for a stronger seal
cut a small piece of strong cardboard to place in the bottom of your bag.
I'm going to cover mine with black fabric
the finished product

I made a crease on my flap so it will lay flat when closed


inside

Back panel
Right side
Left side

front side

Flap

View from the top

and front of flap

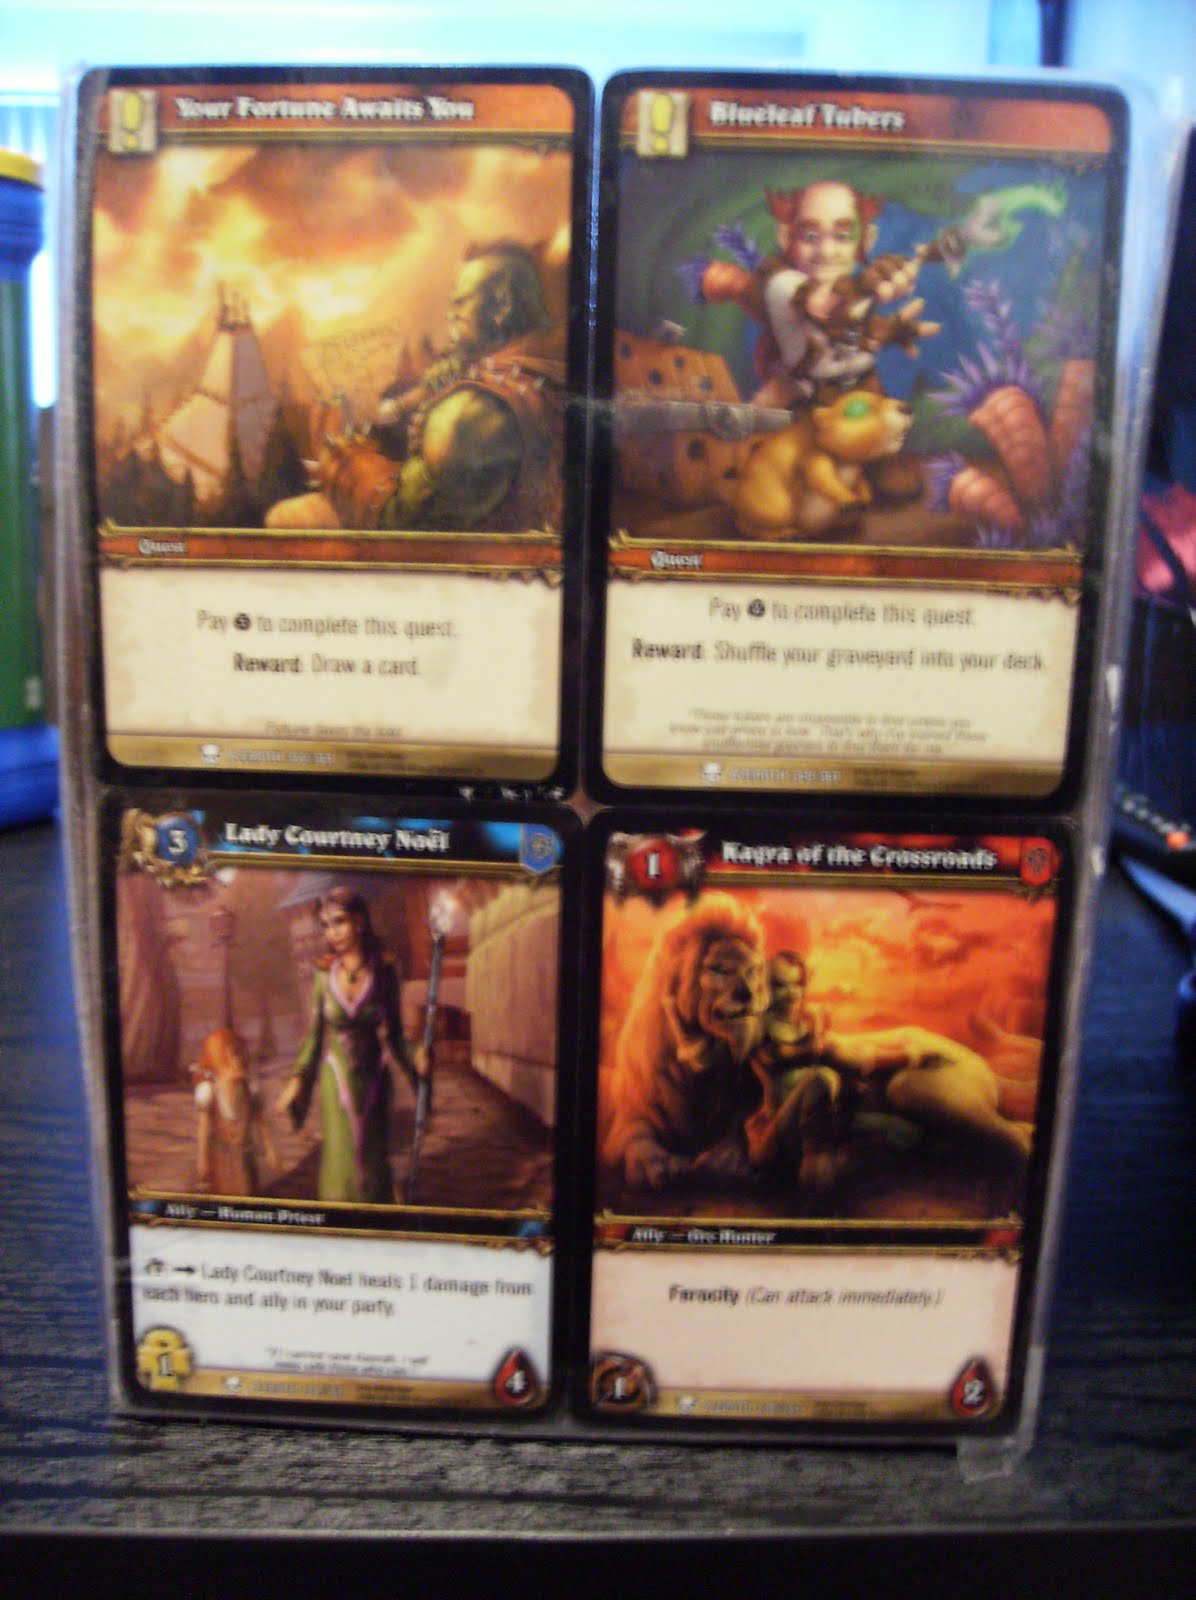
Details of some of the cards


I like the way it turned out.

i have yet to add a strap.
I'm planning on making the strap changeable...
ill post when i make it
all together this project only cost
$2- 2 rolls vinyl
(cost of cards varies)
you can used what you have on hand
mine was around $5 for 36 cards
(6 cards/pack for $1)
now i can show my geekyness to the world!! lol...
This project was featured on dollar store crafts!!
check it out here

This project was featured on dollar store crafts!!
check it out here
9 comments:
This is super fun! I plan to share this on DollarStoreCrafts this week (probably tomorrow!)
Thank you! it is super fun and a good way to express yourself. i have future plans of making a 'scrapbook' tote the same way...
Neat idea! About how much weight could you put in one of these?
Im actually not sure.. i have yet to add straps to mine...Adding a cardboard piece to the botoom will help it hold more. and the way you put the straps on will help too. i think if you add 2 straps ( like a tot) im sure it will hold more. mine will be used to hold a few diapers, wipes, burp cloth and binky..not alot. i dont suggest puttong large heavy textbooks in though
Thanks so much for sharing this tutorial with us!
I blogged about it over here:
http://thezombiecrafter.blogspot.com/2010/08/playing-card-messenger-bag-tutorial.html
That is so cool! I am a giant geek and now I am inspired to take some of my old trading cards that I don't use and make this! You are and inspiration to crafty geeks everywhere!
Thank you!! Im glad that i could inspire you!!!
I wonder if you line it with cardboard on the inside if it would be sturdier... I am thinking I will need to make one of these now! my kids love WOW so I am sorta gonna have to lol
I just couldn't depart your site prior to suggesting that I really enjoyed the standard info a person supply in your visitors? Is gonna be back often in order to check up on new posts
Also visit my page: kalıcı makyaj
Post a Comment