Looking for a unique way to display your earrings?
Ive got one idea here....
recently while surfing craft blogs, i came across
and used it.
here is my take on her project
Supplies:
1-2 liter soda bottle
Wide ribbon
dry erase marker
Box cutter
Scissors
Tack
Key ring
Optional:
mod podge
decorative paper
paint brush
Start by removing the label from your bottle
Next i wrapped my wide ribbon around the bottle
( mine is actually blanket binding)
this is so i could get the cut even
using the dry erase marker draw a line following your ribbon
after the first few rounds
you can just line up your ribbon and trace it
this is how it should look after your lines are done
Next use your box cutter to remove the bottom of the bottle
(on my bottle there was a slightly visible 'seal' line)
next use your scissors to cut your bottle along the lines
you can cut all the way to the top if you so choose.
i stopped where the bottle started the upward curve
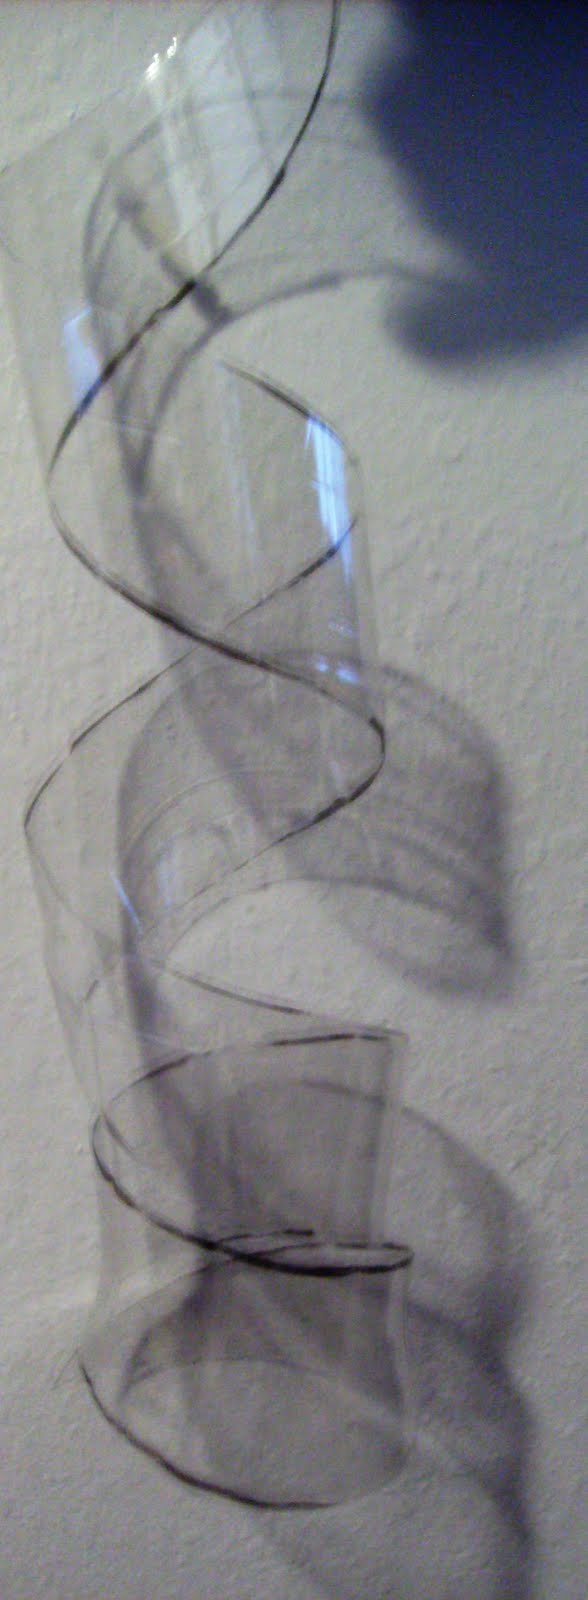
this is my top ending
Here is what it looks like hanging
The next step depends on whether you are going to leave your display clear or decorate it.
If you choose to leave it Clear:
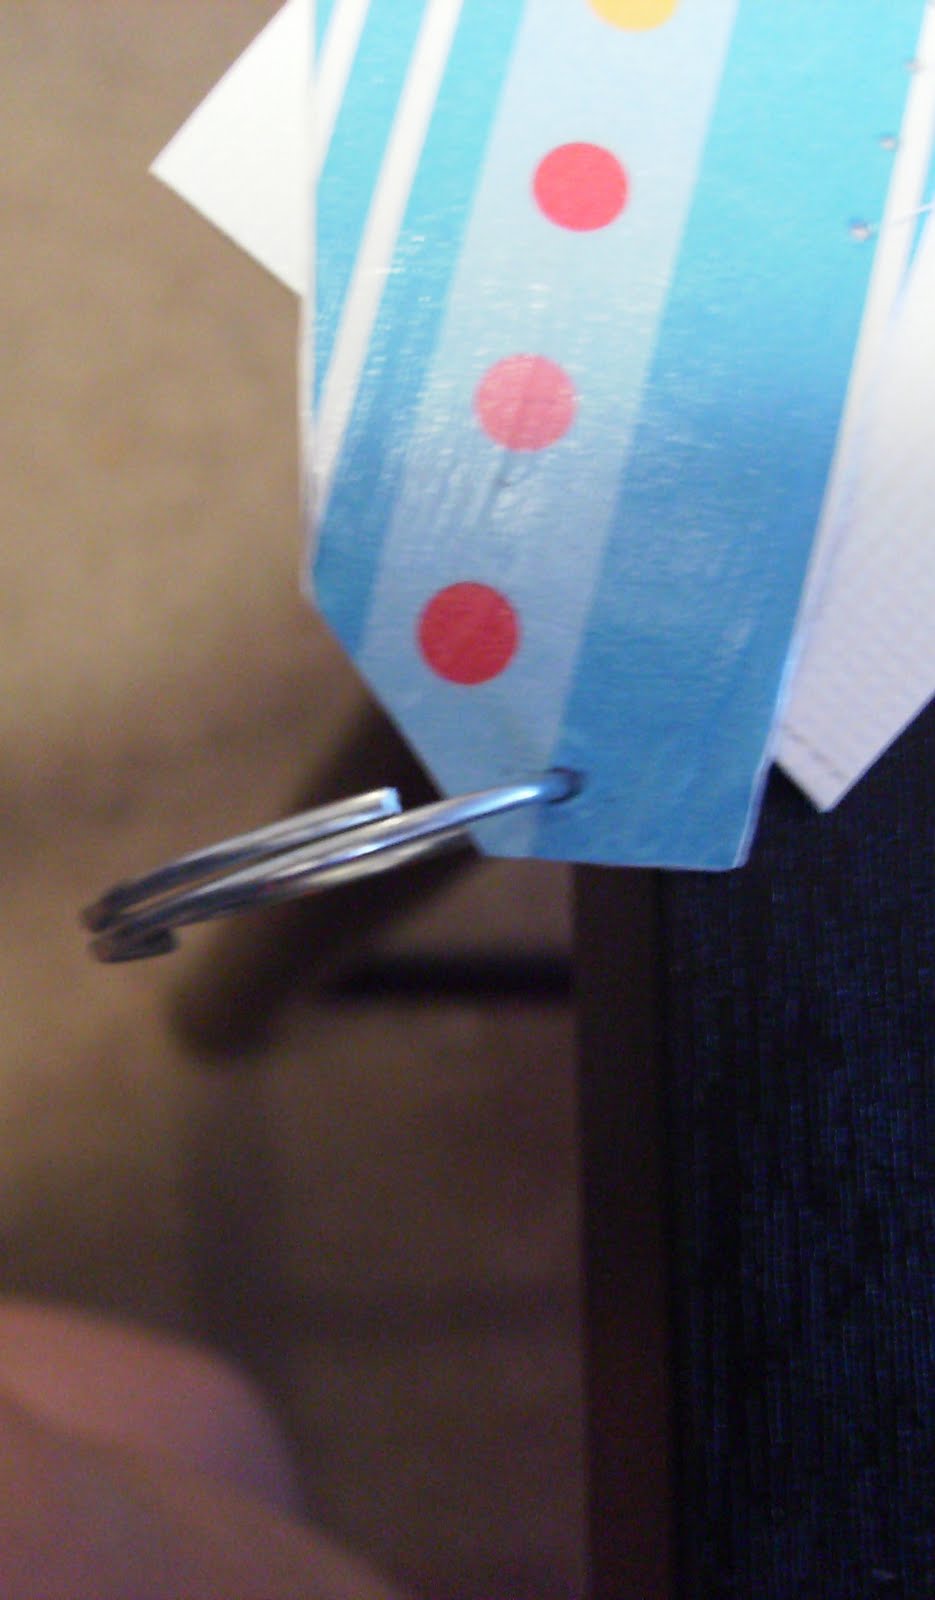
Gather your tack and keyring
(I'm using a piece of a foam place mat underneath)
poke your tack into the top to
create a hole to loop your key ring through
this is how you will hang your display
next step is to poke the holes in which you will hang your earrings from
to keep mine evenly spaced (well, kinda)
i like to used holes poked in my mat
to line up with
Do this through your whole 'twist'
If you choose to decorate your twist:
gather your materials
i cut my paper into strips then cut those strips in half
to make it easier to decoupage onto the twists
start on one end and work you way to the other
i added modge podge on the back of the paper the placed it onto the plastic.
after adding on all of the paper, i then added a layer of Mod podge
to the outside and used my fingers to try and
smooth the wrinkles ( there will be a few)
I continued to decoupage the outside and inside of my twist
next make a small hole in the top and add your keyring
poke holes along the outer edge to hold your earrings
i added a bead to the bottom to help weigh down the twists and open them up a bit
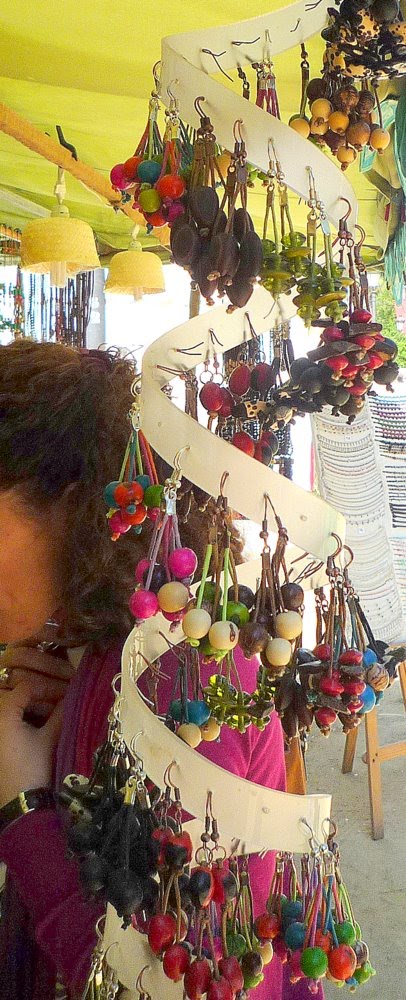
here it is hanging
And now you have a unique 'TWIST' on displaying your earrings
This one is a smaller version.
i used the same size bottle but used most of the bottle and created a larger one for my craft area
it hangs a little over 3 feet
I left it clear
and because of the length there was no need to add the bead to the bottom
Thanks for looking and have fun crafting!!
On a Side note-
Ive entered this into
The CSI Project Challenge


