Pages

Monday, August 30, 2010

Boxed up

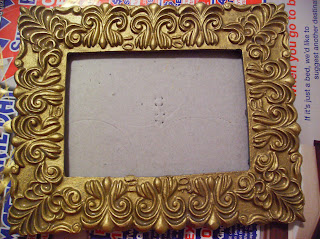
My local dollar store is currently carrying
craft jewelry boxes.
their just plain wood
and fun for decorating.

i made one earlier
for my daughters bangles
(WIP)

i decided to make one for my son
i found these comics at the dollar store a few months back
these actually came with a classic X-men comic
and a cool Turoc comic
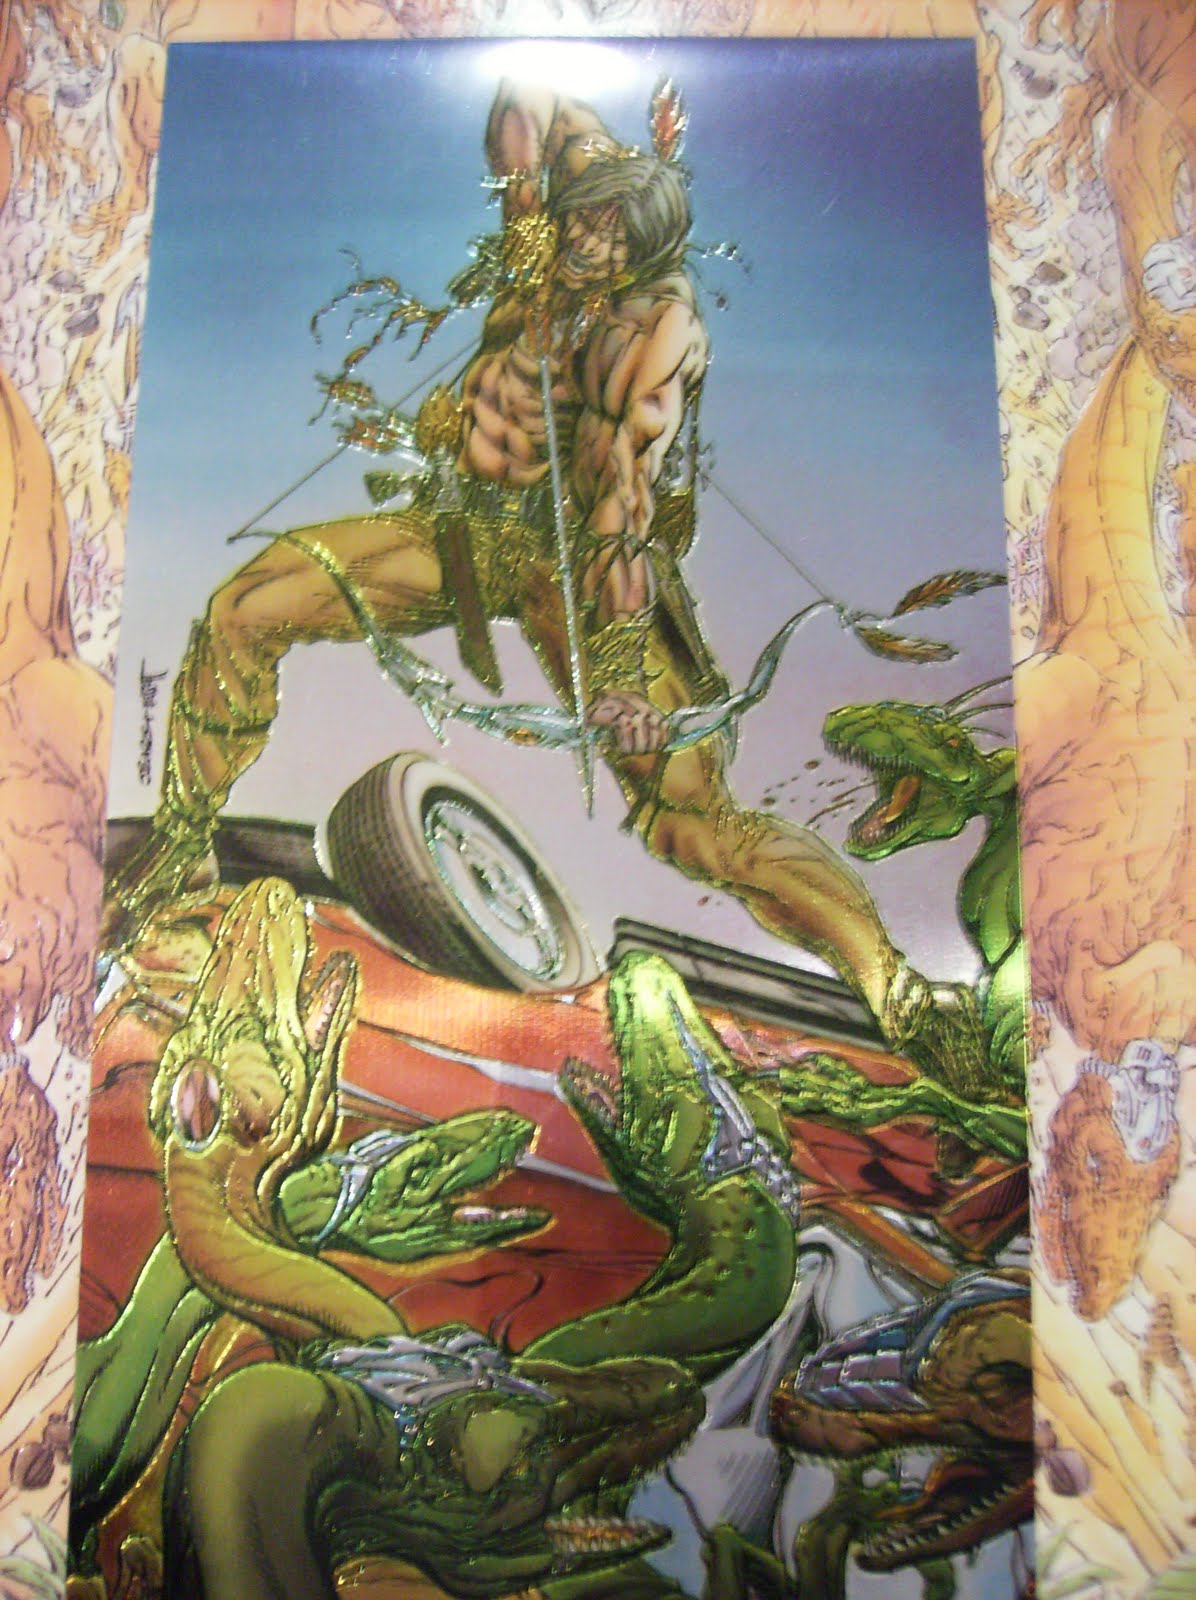
so using the 'Troll Lords' cheesy comics i decorated my box
i started by finding cool images i liked.
i then tore out the images and decoupaged them to the box
( gotta love mod podge!!
 Its almost a Verb on its own...
 Im Mod Podging!!lol)
here is my final product after decoupaging
when adding the image on the sides and back
 i covered the whole thing then after dry
 i used an exacto knife to cut open.
 i suggest doing one side at a time
I like the way the images blend together
after i finished decoupaging my images on i decided i  wanted to add a little color.
i still wanted it to look like a classic comic book so i used watered down food coloring to paint a few areas.
i wasn't concerned if the color spread.
my hubby loves the way it turned out..
Top
front
sides
back
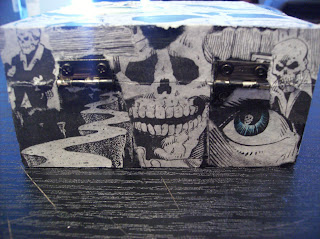
I really like the way this turned out myself...
 i really want to make more of these with other images
It currently houses Lil mans binkies
their always being misplaced
 so now anytime i find a binky
 its put in the box
now i know where to find one when i need one!!


On a Sidenote...
 Ive entered this project into
The CSI Project challenge

Fleur de Lis

The Fleur De Lis is a classic decor piece
I found a few Fleur De Lis statuettes at the dollar store a while back
I left them as they were until recently.
While at the dollar store a few weeks back i found an awesome frame that pulled it all together.
( sorry no before pic of the frame, it was saved on my laptop and it crashed...sad...)
anyways..

I painted the frame and statuettes gold
It was just a quick once over with the gold paint
after letting the gold paint dry ( very important)
i painted over it with back paint and wiped it away with a paper towel.
( if you try this before your base color is dry you will be wiping that away too)
using this techniques leaves black in the crevaces of the piece
here are the complete pieces
I really like how they both have a similar swirl
they work really well together

Its amazing the difference a little bit of paint makes!!

Tuesday, August 24, 2010

New kid on the Blocks

 While at a yard sale
(over a year ago)
i found a set of nice wooden blocks for $1
i recently decided i wanted to paint them
but couldn't figure out what color.
i ended up painting them black and white...
but i did a bad and sloppy job.
my hubby had the idea of making it look purposeful.
there fore these were born!
i started by placing the blocks all together on a piece of newspaper
i then chose my paints
i watered them down a bit so it would sling better
then start slinging paint
i used metallic blue, red, and green, and also a lime green
after painting one side i stood them up to dry
Turn them over
and sling the other side
let them dry..
i wish i had painted all of the larger sides white.
the paint shows much better on the white..
 but over all they turned out OK.
my husband loves them..
and my daughter is really enjoying playing with them

while painting the blocks i made a splatter canvas.
this technique is SOOOOO much fun!!
almost left it alone with the red..
all of the colors
LOVING IT!!
Related Posts with Thumbnails