Pages

Wednesday, October 13, 2010

All wrapped up

Ive recently posted pic of my mummy on the DSC facebook page
and also on Garage of evil
ive had alot of people asking for a tutorial on how to make my mummy...
well here it is!!!

I wrapped a trash bag around my waist
then added another trash bag around my lower legs
I suggest buying at least 2-3 large rolls of duct tape
start by wrapping from the waist down, keeping your legs together
when wrapping your feet, keep the end of your feet apart while keeping your heels together
by the time your done wrapping they will end up closer together anyways
( you just don't want then to overlap or
ankle bones rub against each other...it hurts..lol)
complete lower half
you may either continue, or cut out your 'model' at this point
it was bedtime for me so we cut it off and started again the next night
remove by cutting in a straight line down the back

during the next step there are two different ways you can do this...
when working on the top you can step back into the legs and continue taping upwards into the torso..
or ,
as i did
 i worked it in different stages

first i stuffed the lower legs with plastic bags
Its a good way to reuse all those bags from the grocery store!
plus it helps keep it lightweight
I then added in a yardstick for a 'spine'
if possible i suggest you use a pipe or stick that is the height of your model
( better for stability)
i also added 2 pkg of rocks from the dollar store in the feet
 for weight in the base to help keep it standing

the next step is to tape the upper half
have your model put their arms in position while you are working on the torso so the body shape will be right
wrap the arms and hands separately but in the proper position.
i suggest taping up your neck as well,
this will make adding your head easier
remove the torso by cutting a straight line down the back, across the shoulders
and as small a cut as possible down the back of the arms
(until your model can remove her arms from the wrapping)
tape the upper half back together and stuff a bit for stability and tape onto your lower half
and finish stuffing
when creating the head i actually taped over my own head.
you could also use a wig head or a mask for the face and shape it however you choose.
attach to the body
your mummy form is complete
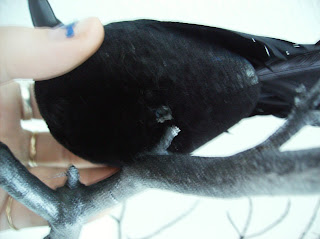
i then spray painted the mummy white so the silver wouldn't show through the wrapping
next i bought ace bandages from the dollar store and stained them with tea
wrap your mummy with these, but remember
these are the under wrappings so it doesn't have to be perfect
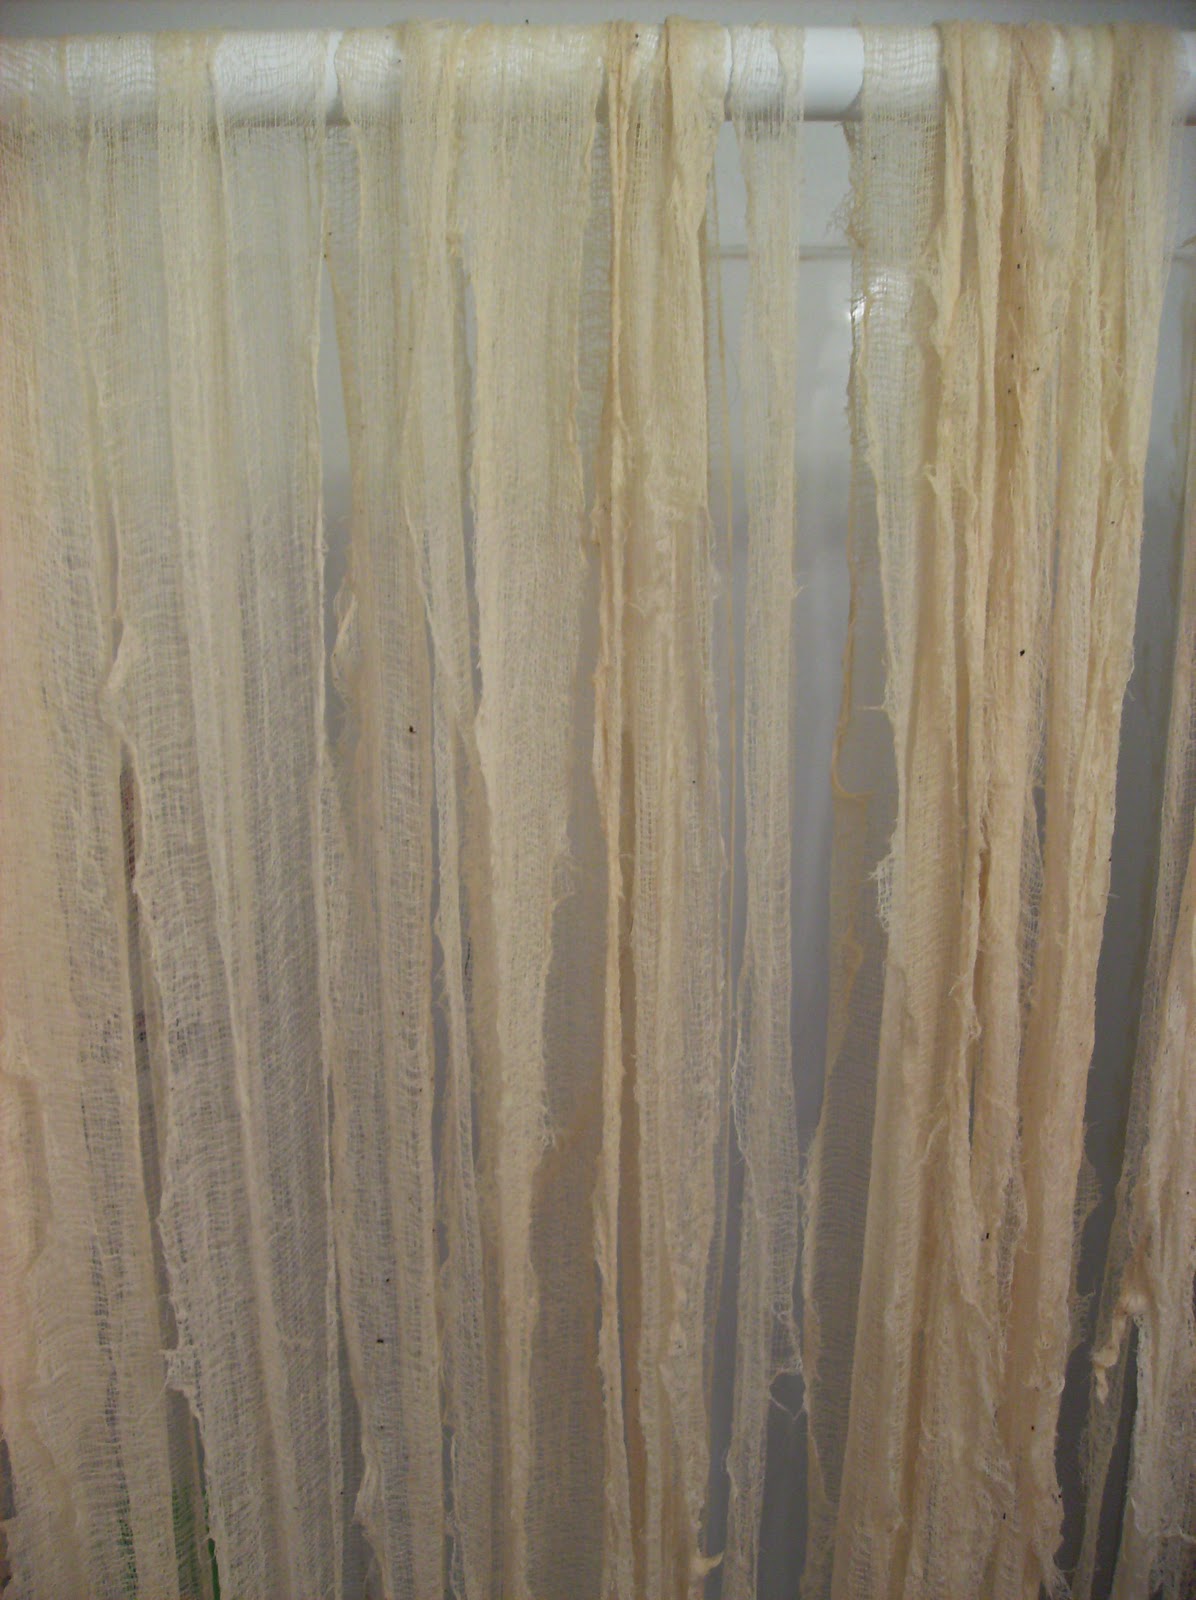
i found cheese cloth at Walmart
it took 3 pkg
cut into strips
tea stained and hung to dry
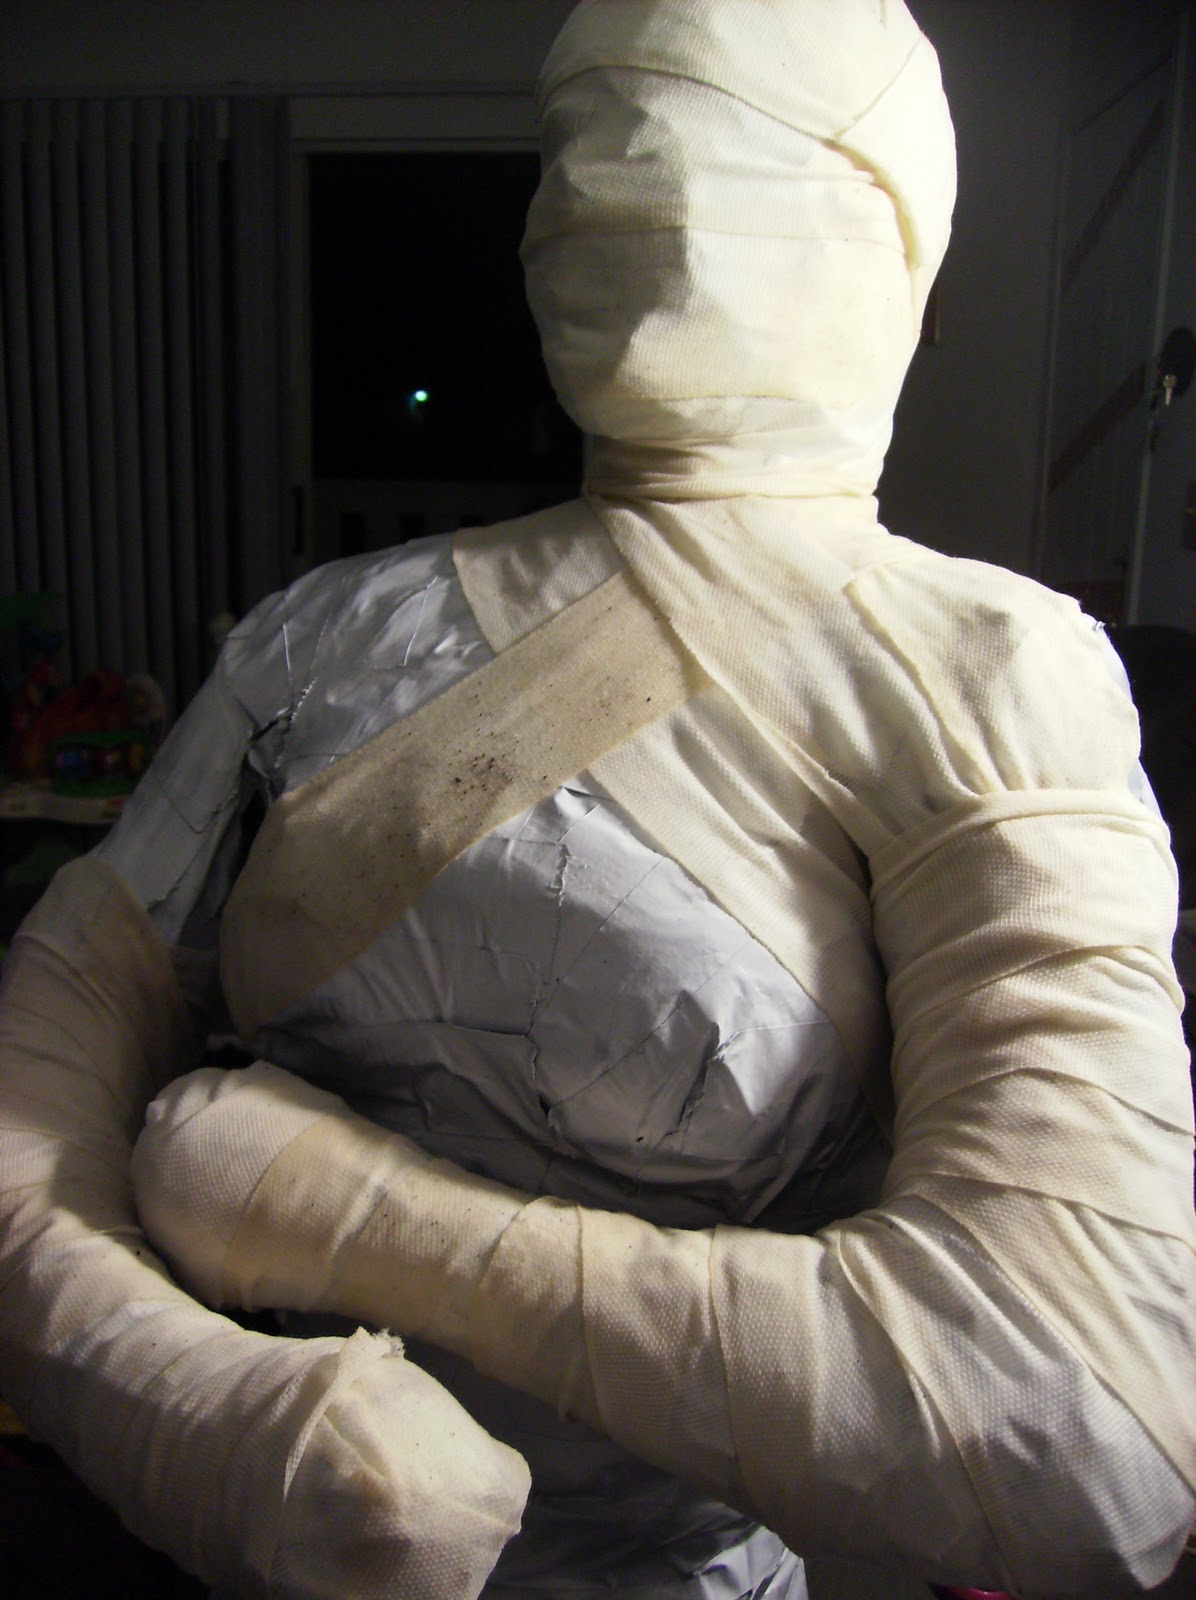
next proceed to carefully wrap your mummy
here is my completely wrapped mummy
I also painted her with leftover shellac (previous project)
to help the cheesecloth stay and to weatherproof a bit.
the next project is to create a sacrcophagus for my mummy

 
Linked to


Friday, September 24, 2010

Inspired feature

About a week ago, Heather from DSC asked me if I would like to do a feature.
Of course i said, OF COURSE!
and then i did what everyone else in this position would do...
I asked myself, "what am I going to do?"
It wasn't about coming up with a new projects,
 it was about picking which one of my planned projects was I going to do.

Well, I finished the project a while ago, and it took longer than intended.
Ive recently started a full time job after 3 years of being a stay at home mom.
I worked on this an hour a night for a few nights..
when i finally had the project done it was time to write the tutorial
 but I've been having problems writing it up.
I first tried writing it up on Word 2007, but it was just a trial, and
of course my trial expired.
so then i tried typing it up on notepad.
I had it all nicely typed up and after saving it i went to bed.
the next morning i went to open and send it to Heather, and
of course my computer cant open it.
It tells me the file is to large to open...UGH!!!!
So I'm hoping that maybe by posting the tutorial here, Heather can still use it...
(sadly, because of the unability to use word programs we were unable to use the feature...but thats ok!!)

Now to the Tutorial.....

Ive been seeing alot of Pottery Barn inspired projects lately.
I thought I would see what the big hype was about and I requested the catalogues.
I have to admit, they have some pretty cool items in there, but nothing in there is very cheap!
I liked the spinning shelf, and the bed/dresser combo, but i could never afford them.
I can see why so many people were making their own inspired projects.
The second I saw this, I knew what project I was going to do!!
a cool 'Flying' Crow Mobile!
It has a $39 price tag though!!
After seeing this I knew I wanted to  make my own 'Flying' crows!

The List of required Ingredients are:

5 crows-$5
                                  * located at Dollar tree
Feathers- $2.50
                               * Found at Walmart
3 cans Black Spray Paint- $3
                                  * 96 cents at Walmart
                                             ( 2 glossy, 1 matte)
Fishing Line
               * on hand
Picture Hanging Kit-$1
                                      * Located at Dollar Tree
Branches- Free!

To begin, you must first gather your supplies;
beginning with your branches.

Visit your local woods
I am actually lucky enough to have one basically in my back yard!
There are a large variety of trees to choose from
If you can find already 'dead' and bare branches,
that's even better.
But, be careful because they tend to be brittle and break easily.
for my largest branch, and I chose one that still had leaves on it and was a bit stronger.
all of the others were already 'dead'
remove all of the leaves, leaving as much of the twigs and branches as possible
Half of the leaves gone..
completely bare
Next step is to spray paint your branches
using the glossy spray paint
I added a touch of silver spray paint (on hand) as an accent..
after the branches dry, its time to hang them up.

tie a long strand of fishing line to eye hooks
screw the hooks into the ceiling..
I then propped the 'stem' of the branch in the corner
and tied the branch up with the fishing line

The next step was to work with the crows.
you can remove their legs by simply pulling them out.

one crow i place straight onto the branch
i placed a small stub of twig into one of its leg holes..

 next i strung up three of the crows that will be 'flying'
I did this by threading long pieces of fishing line onto a large yarn needle
and poking it through the middle of the crows
I then tied the end of the line to a sewing pin  and poked it into the crow
so the fishing line wouldn't pull through the Styrofoam of the crow
I then hung the crows from the branch at varying heights

after adding the second crow, i took a step back and reviewed my work.
I liked it but i seemed a bit..empty

so i added another branch below the main one.
i propped it up in the same way as the larger branch, using a keyring to keep them together
Using fishing line i tied it onto the larger branch. hanging just below it.
i used double sided sticky tabs to stick it against the wall
and I placed a Lil crow, cradled in its branches

here is what it looks like so far...

next  step is to add wings to your birds
using the feathers

start layering the feathers to create a wing shape
i hot glued them onto a piece of card stock for stability
trim down the card stock and
create enough wings fro all of your 'flying' birds

after you complete all of your wings, prepare an area to paint them
I started out using the glossy spray paint
it doesn't cover very well...
as you can see below
the matte spray paint does a much better coverage job
( sorry about the bad images)

Using hot glue I attached the wings onto the birds
attach them at different angles to give the perspective that their flying

and here is the final project...
looks amazing!!
And all for around $12!!

I also added a few branches in other corners of the room

the other two were hung by using picture hooks and key rings
i used spiderweb and a creepy spider to accessorize this branch,
which hangs over my daughters doorway

the one above my hallway is held up the same way
using picture hooks and key rings
 you can also add Spanish moss and alot of spider webbing to make the look alot creepier.

For other Halloween crafts,
check out my other posts, such as:


And Many More!!

There will be a tutorial on how to make a Mummy on the way!

also introducing..
The poison Apple!
available in red and green
these are up for commission if anyone is interested.
please leave
 a comment if you would like one of your own.


PS
I am linking this to

I made Top ten in the 'My painted Halloween Challenge'


im also entering this into the

Related Posts with Thumbnails