OK, so here we are again with Halloween crafts,
and almost all are from the dollar store.
I'm going to jump in head first!
lets start with..
Brain Specimen
I found these 'hearst and brains' at my local dollar store

I glued two of the brains together
( i used superglue)
.JPG)
i then place the brain in a container i found at the dollar store
.JPG)
and filled it with Bright green formaldehyde
(actually shampoo found at the dollar store!)
.JPG)
and here is your brain, in a jar!!
lol
.JPG)
.JPG)
some the paint has started running and it had make my green look tainted.
It looks more realistic to me
(a bit of leftover blood mixing)
but if you don't want this to happen I suggest you wash your brain before encasing it.


SKULLS
a classic Halloween decor piece!
I found these glitter skulls and had to have them!!

I bought 3 to place on a stand

I also skewered one with a dagger I was given as a gift years ago

I also found a few skull 'jars'

I bought one last year after Halloween and using this
Calaveras skull tutorial
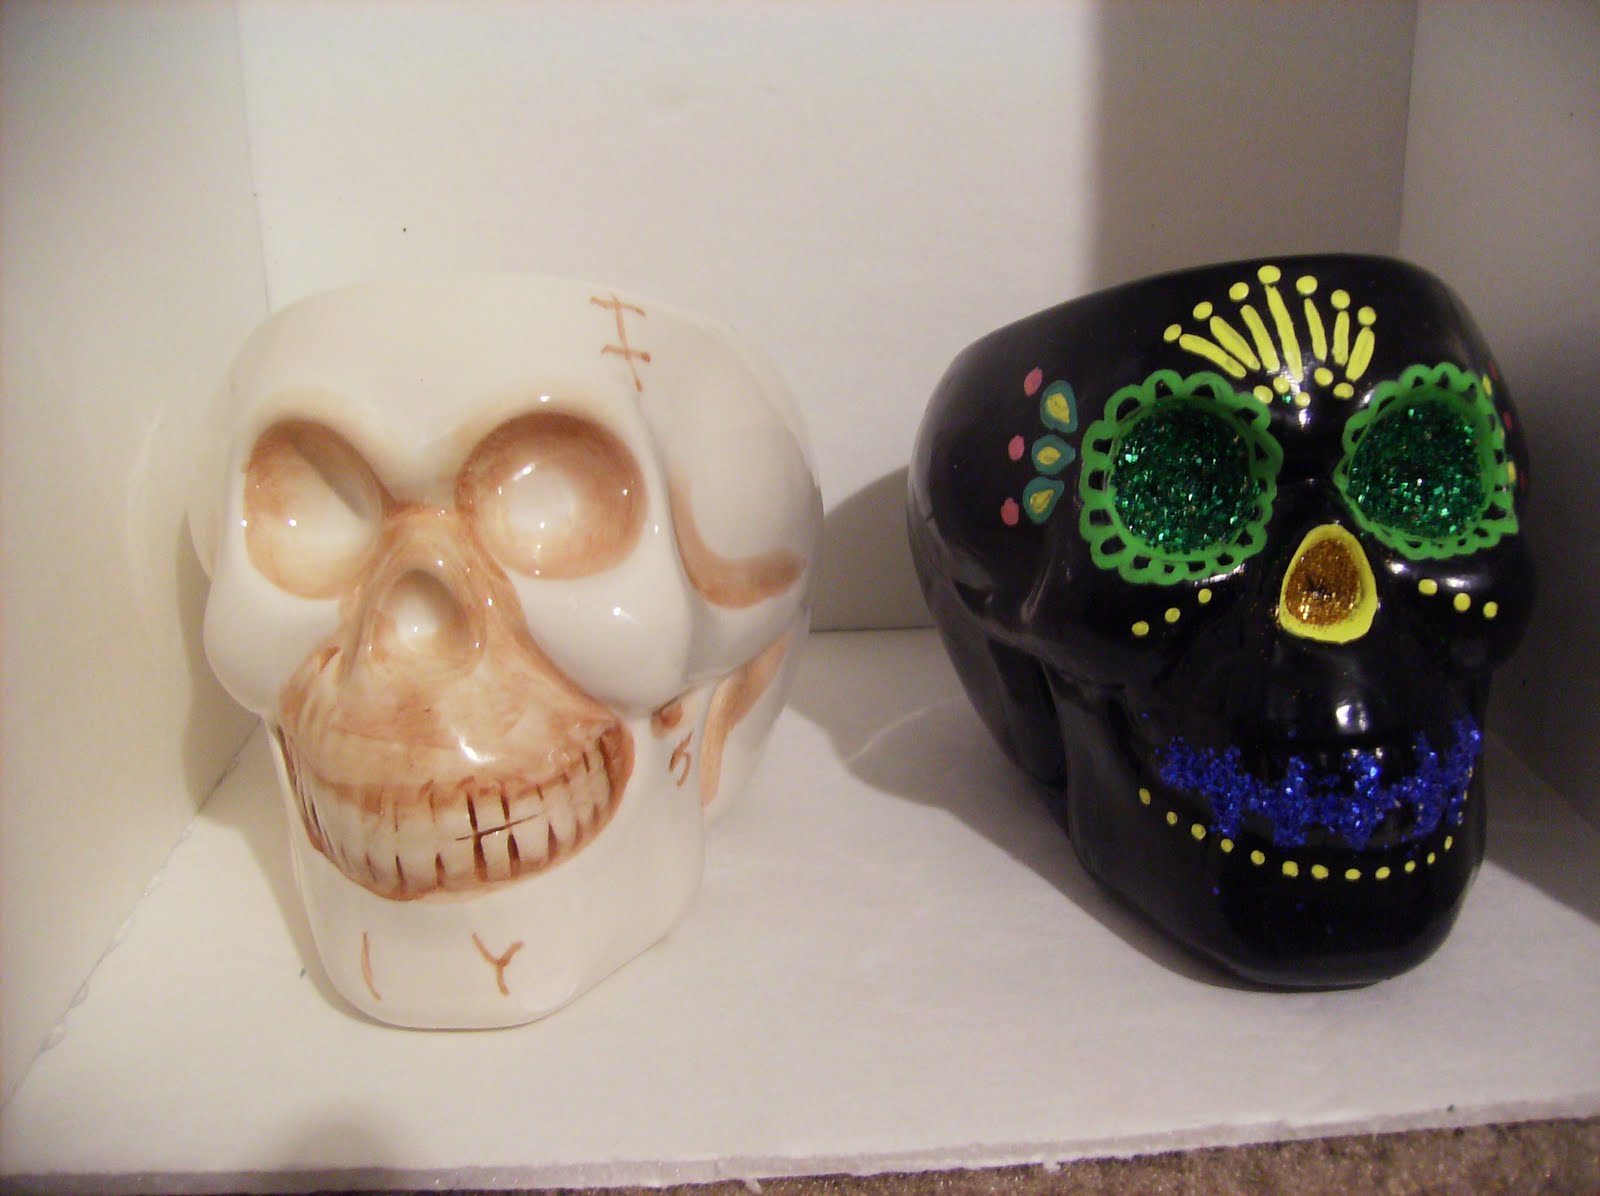
I created a cool Dia De Los Muertos decoration

start by painting it black


then decorate as you please.
i used the same design as in the tutorial
and also added glitter in the eyes and nose and on the mouth


Before and after
I bought 2 more of these this year to decorate.

one is currently holding my sugar skulls
I created these from a tutorial at the dollar store crafts site

You will need a skull mold from the dollar store
( you could also used other shaped molds)
1 cup sugar and 2 tsp water
food coloring if desired
( direction images from 'dollar store crafts')
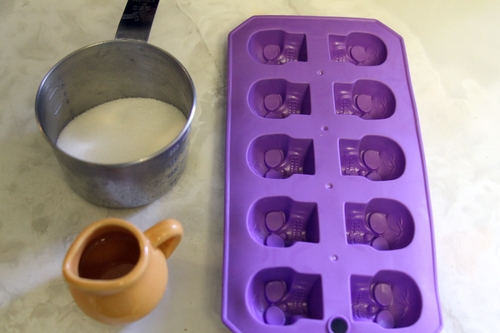
mix water and sugar together until it reaches a wet sand consistency

add food coloring if desired
press the mixture into the molds packing tightly
and level off
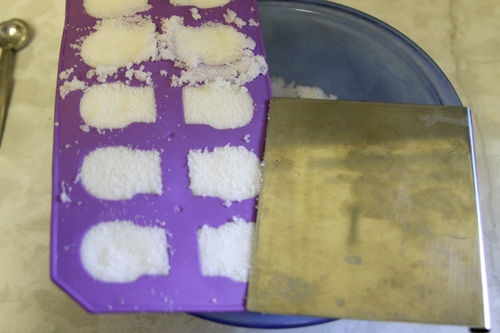
place a cookie sheet or cardboard over mold and flip.
unmold cubes immediately
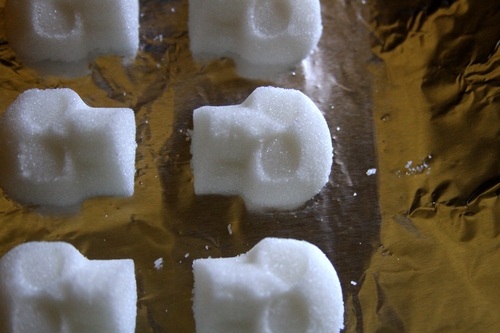
allow to dry for 5 hours, or overnight, or bake at 200F for 5 min

i made white skulls

and grey/ black skulls
( i didn't have black food coloring so i mixed all the colors til they were dark enough)

these are great for mixing with a cup of tea,
and afterwards you can read your leaves...
And no matter who you are
Every Halloween display HAS to have
Pumpkins
My dollar store was carrying carveable pumpkins
( the were there for a total of two days, and i bought the last two)

i spray painted them white and black

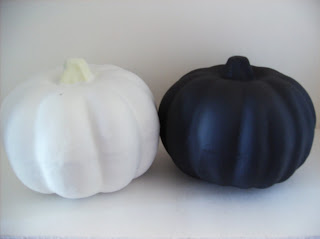


i knew what i wanted to do with the white one..
I had a pair of fishnet stockings from a few Halloweens ago

I squeezed my pumpkin into one of the legs

i cut off the rest

i even trimmed the top down a bit more
I used e6000 to glue the fishnets around the stem

I allowed that to dry
and trimmed it up a bit more

sexy pumpkin!!

i painted both stems of the pumpkins with a swirled mix of dark green and black


i haven't decided how I'm going to decorate the black pumpkin yet...


Other supplies i have found at the dollar store are
( and all of course $1)
Crows

Serving tray

large spider

Creepy cloth

Oil burner

Spider web

Tombstone

so our total today for Halloween decorations is $26
brains (x2)-$2
jar-$1
shampoo-$1
Glitter skulls (x4)- $4
jar skulls (x3)- $3
skull mould-$1
carveable pumpkin (x2)- $2
Tier tray-
*3 trays-$3
pie plate, pizza pan and serving tray
*2 candlesticks-$2
creepy cloth (x2) -$2
large spider-$1
skull tray-$1
2 crows-$1
oil burner-$1
I will show you my witch's apothecary on the next post!!
Merry Crafting and Happy Halloween!!
2 comments:
Wow, you have done so many cool halloween decorations! Thanks for sharing!
So many great ideas! I am going to go shopping or decorating next year. So many bargains :)
Post a Comment